
After finding Ana White's website, I had the urge to keep building furniture. This in theory wasn't such a bad situation, but our house didn't need any more furniture. When I told my sister of my predicament, she was happy to provide a wish list for her new condo. She fell in love with Restoration Hardware's Furniture Factory Cart, but the price tag was a little more than she wanted to pay for a coffee table.
She showed me pictures of the factory cart, and I had to agree it was a statement piece of furniture with gorgeous metal details in the wheels and hardware: something I was sure I couldn't mimic perfectly. However, I had seen a different version of a factory cart on Ana's Website that I thought I could pull off.
I headed to Blue with plans in hand and left with this:


And then somehow fit all 8 feet of them in my Corolla. It's a talent.
I got to work right away making the basic underlying box with my Kreg Jig (can you find it in the picture?), but decided to make the top removable so that my sister could use the inside for storage, because who doesn't need more storage? This modification made me run a little short on boards.
 \
\
So close, but not quite enough. Back to Blue I go.
Thank goodness Blue so close. I became a "regular" around this time with the employees. Is that a bad thing? I don't think so.
After cutting the last piece, I distressed the table with a screwdriver, keys, and a hammer. That part was actually quite therapeutic, and I may have gone overboard, but I think it gives the table "character."
Shortly after my therapy session, I called my sister to see what color she was thinking for her table. She wanted it to look aged, but also darker in color. Humph. I had no idea had to go about that. Back to Blue I go to see what color stain I could find! After searching through every available stain, and not be entirely happy with any single one, I decided to try my hand at mixing two different stains to get my desired effect.
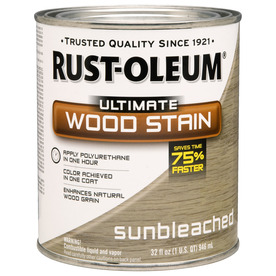
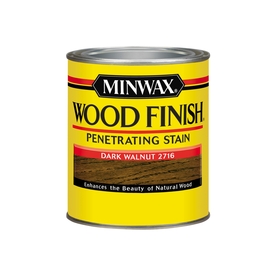
I put one coat of Sunbleached on with a paper towel (didn't buy any more foam brushes), then wiped on a coat of Dark Walnut once I had finished the Sunbleached layer. Since it took me a little while to get stain applied to the whole table, by the time I was done with the second color, it was time to "wipe off" the excess stain. At the same time, I rubbed the two colors together to get a better blending of color.
This is a picture after a few coats:

After a couple of layers at my place, I took the top and box of the coffee table to my parents to show my sister the progress. She took over the process of staining from there!
She also bought silver wheels from a local industrial supply company, spray painted them "ORB" also known as oil rubbed bronze, and after the spray paint dried, we attached the wheels to the table per Ana's instructions. A couple coats of mat polyurethane, and the table was complete! Want to see the table in its new home?!


I LOVE how the table turned out! The top shows off the wood grain and the dark stain accents the "distressing" but the color is completely unique and goes with the character of her condo. Not to mention the table is strong, too: we found out when my Grandpa sat on it while visiting my sister and she prayed the table wouldn't collapse. Success!
Thank goodness for the Kreg.

Did I mention she does photography on the side? Thus, the beautifully snapped photos from her condo.
Compared to the nearly $1000 inspiration, our $100 investment turned out pretty well! And I found out making furniture for others to enjoy is WAY more fun than making it for my own home!
Let the wish lists for Christmas begin! :)
Check out the brag post on Ana's website and see all of the creative variations of the factory cart that others have created!

No comments:
Post a Comment